Quickstart for GitHub Actions runners
Connect your Depot organization to GitHub and configure your GitHub Actions to use Depot managed runners.
Prerequisites
You'll need a Depot account.
Connect to GitHub
To configure Depot GitHub Action Runners, you must have the organization owner role. Connect to your GitHub organization and install the Depot GitHub App:
- Log in to your Depot dashboard.
- Click GitHub Actions.
- Click Connect to GitHub.
The install form opens in GitHub. - Install or install and authorize the Depot app.
Private repository approval
Some GitHub organizations require an Organization Administrator to approve the new Depot GitHub app before jobs can run on Depot runners. To confirm the app is active and approved:
- Log in to your Depot dashboard.
- Click Settings.
- In the GitHub Actions runners section, view GitHub Connections.
Public repository permissions
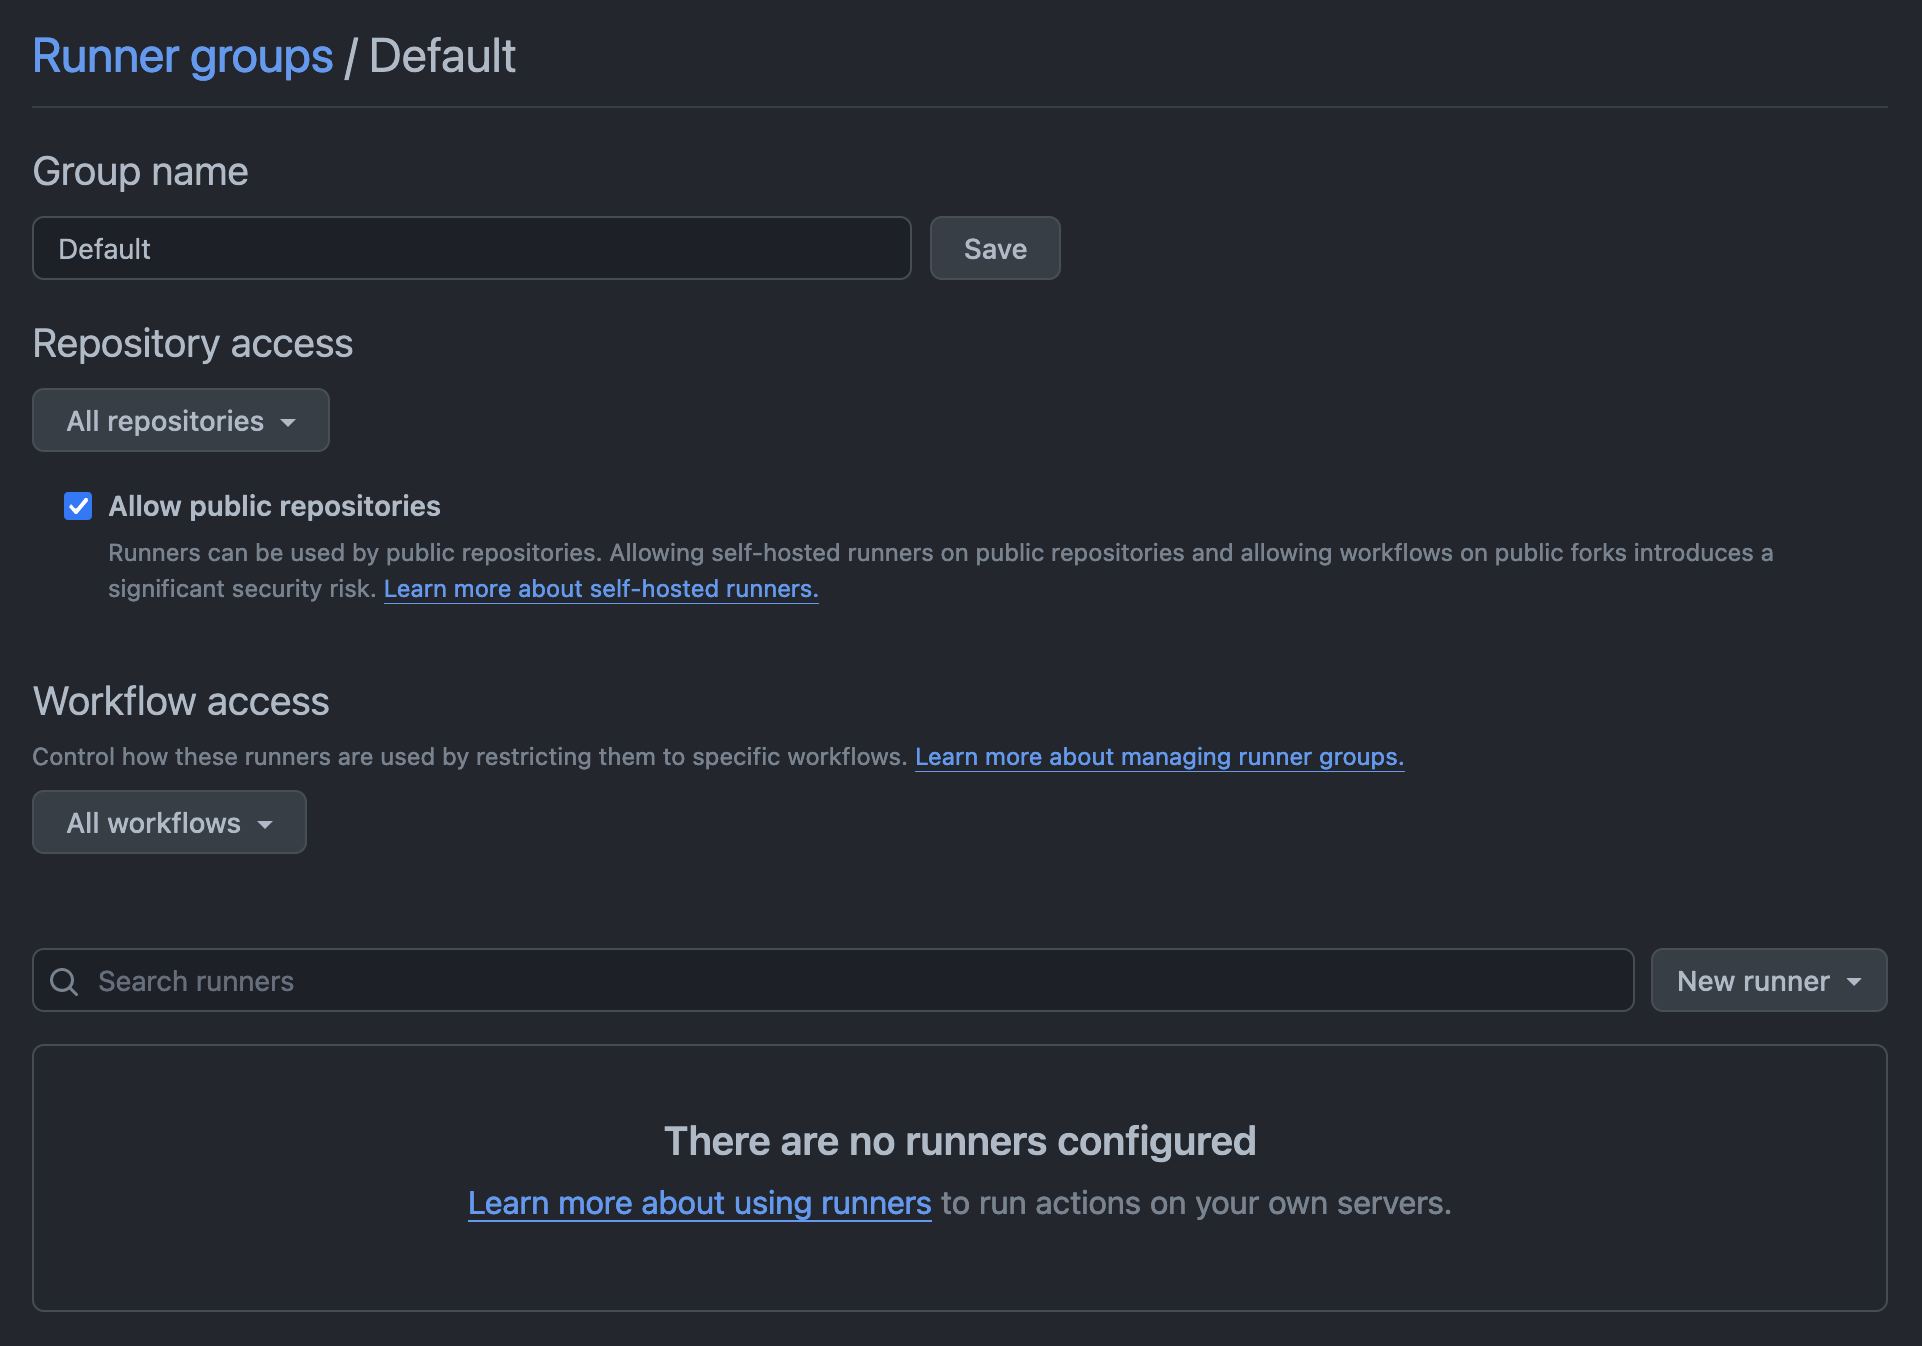
If you're using Depot runners with public repositories, update your Actions runner group to allow runners to be used in public repositories. In the Actions > Runner groups section in your GitHub organization settings, select Allow public repositories.

Configure your GitHub Actions workflow
Depot supports a variety of [runner types and sizes]runner type docs, including Intel and Arm runners with up to 64 CPUs.
To configure your GitHub Actions to use Depot runners, specify the runner label in your workflow YAML file under .github/workflows/. For example:
jobs:
  build:
    name: Build
-    runs-on: ubuntu-24.04
+    runs-on: depot-ubuntu-24.04
    steps:
...View GitHub Actions jobs
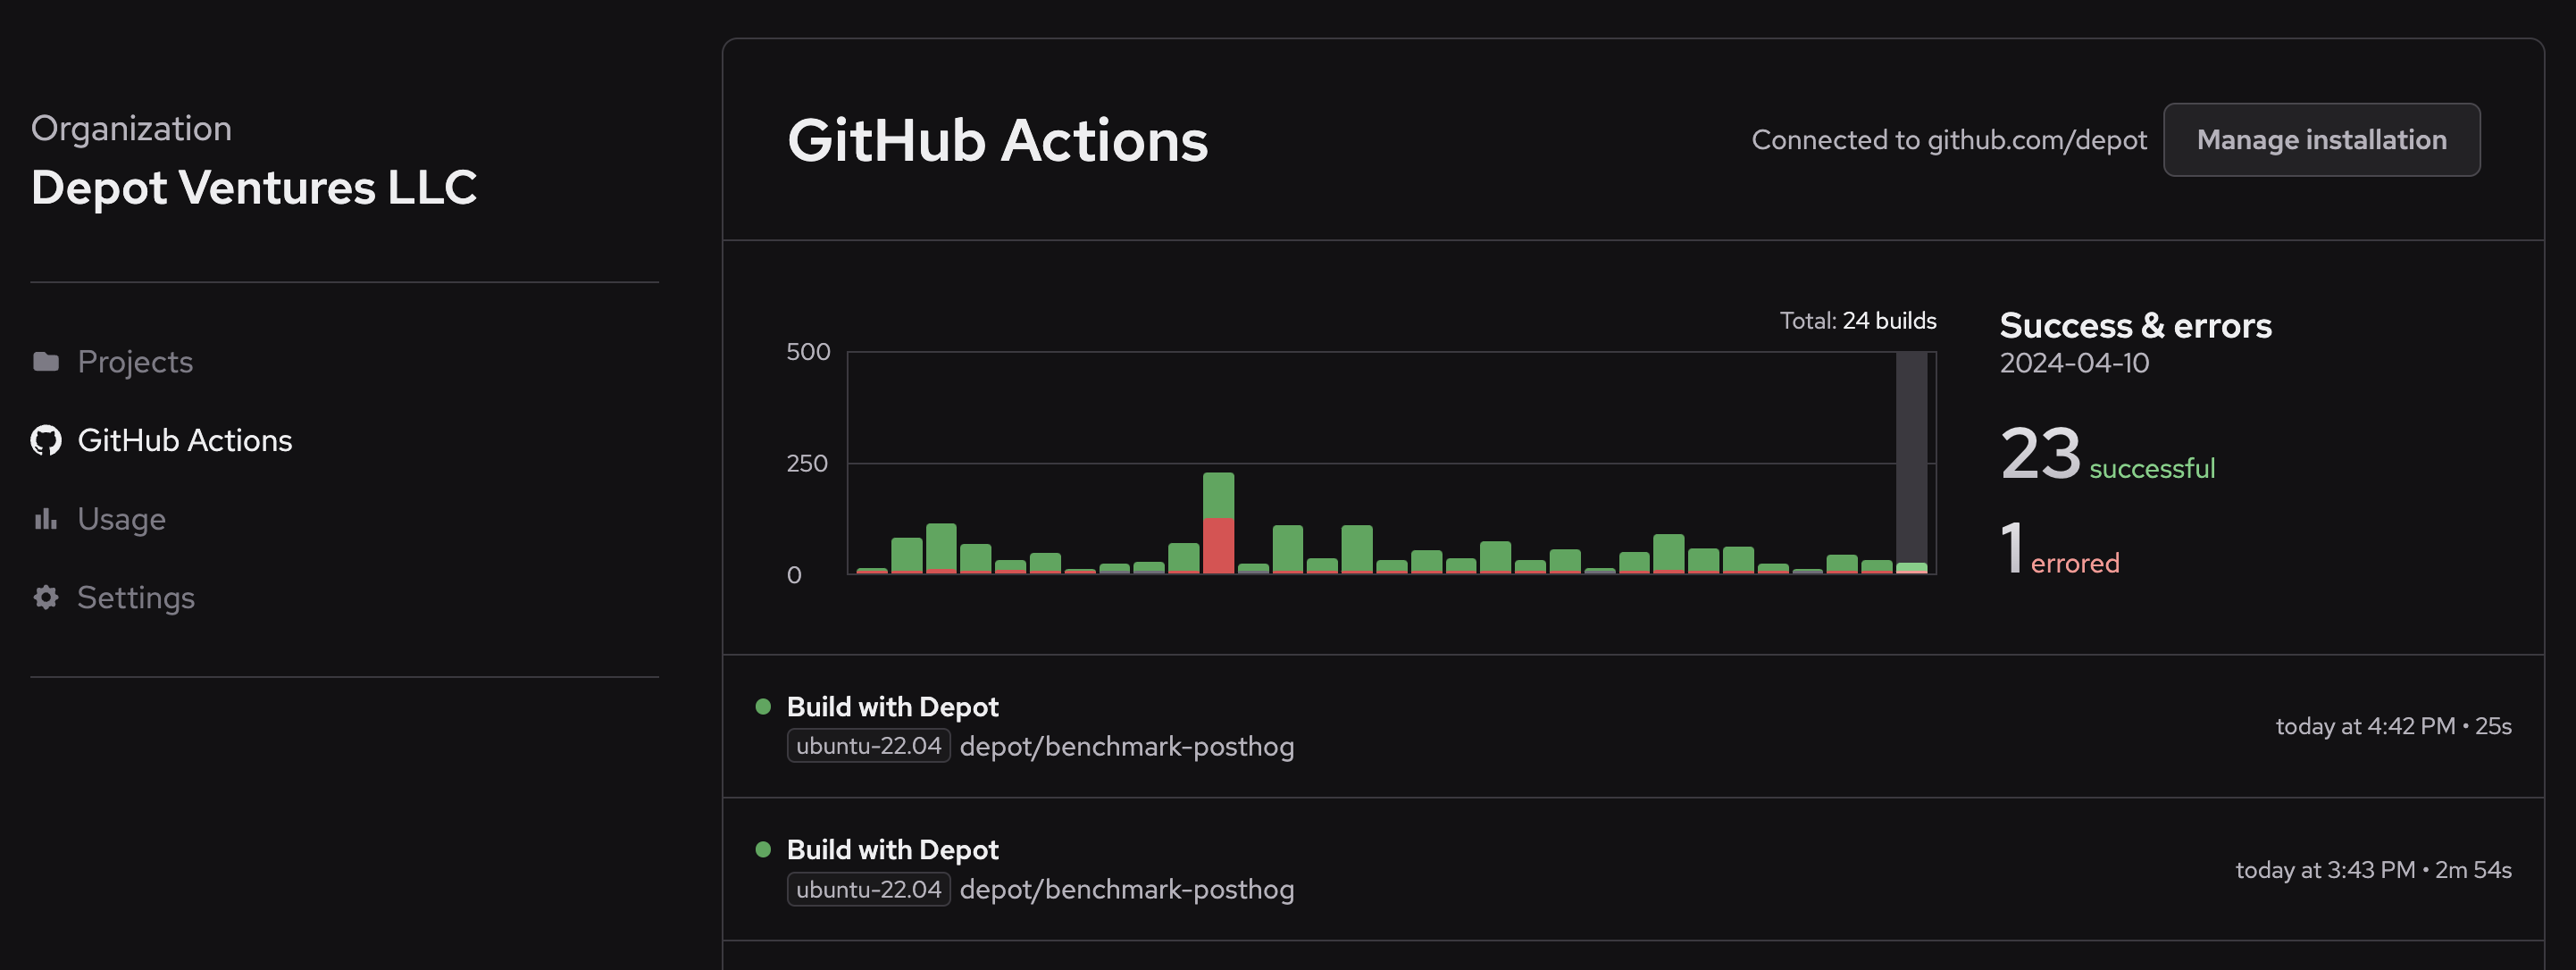
To view jobs that have run on Depot runners, go to the GitHub Actions page in your Depot dashboard.

To view job metrics, CPU/memory utilization trends over time, and to identify your slowest jobs, go to the GitHub Actions Analytics page.
View GitHub Actions usage
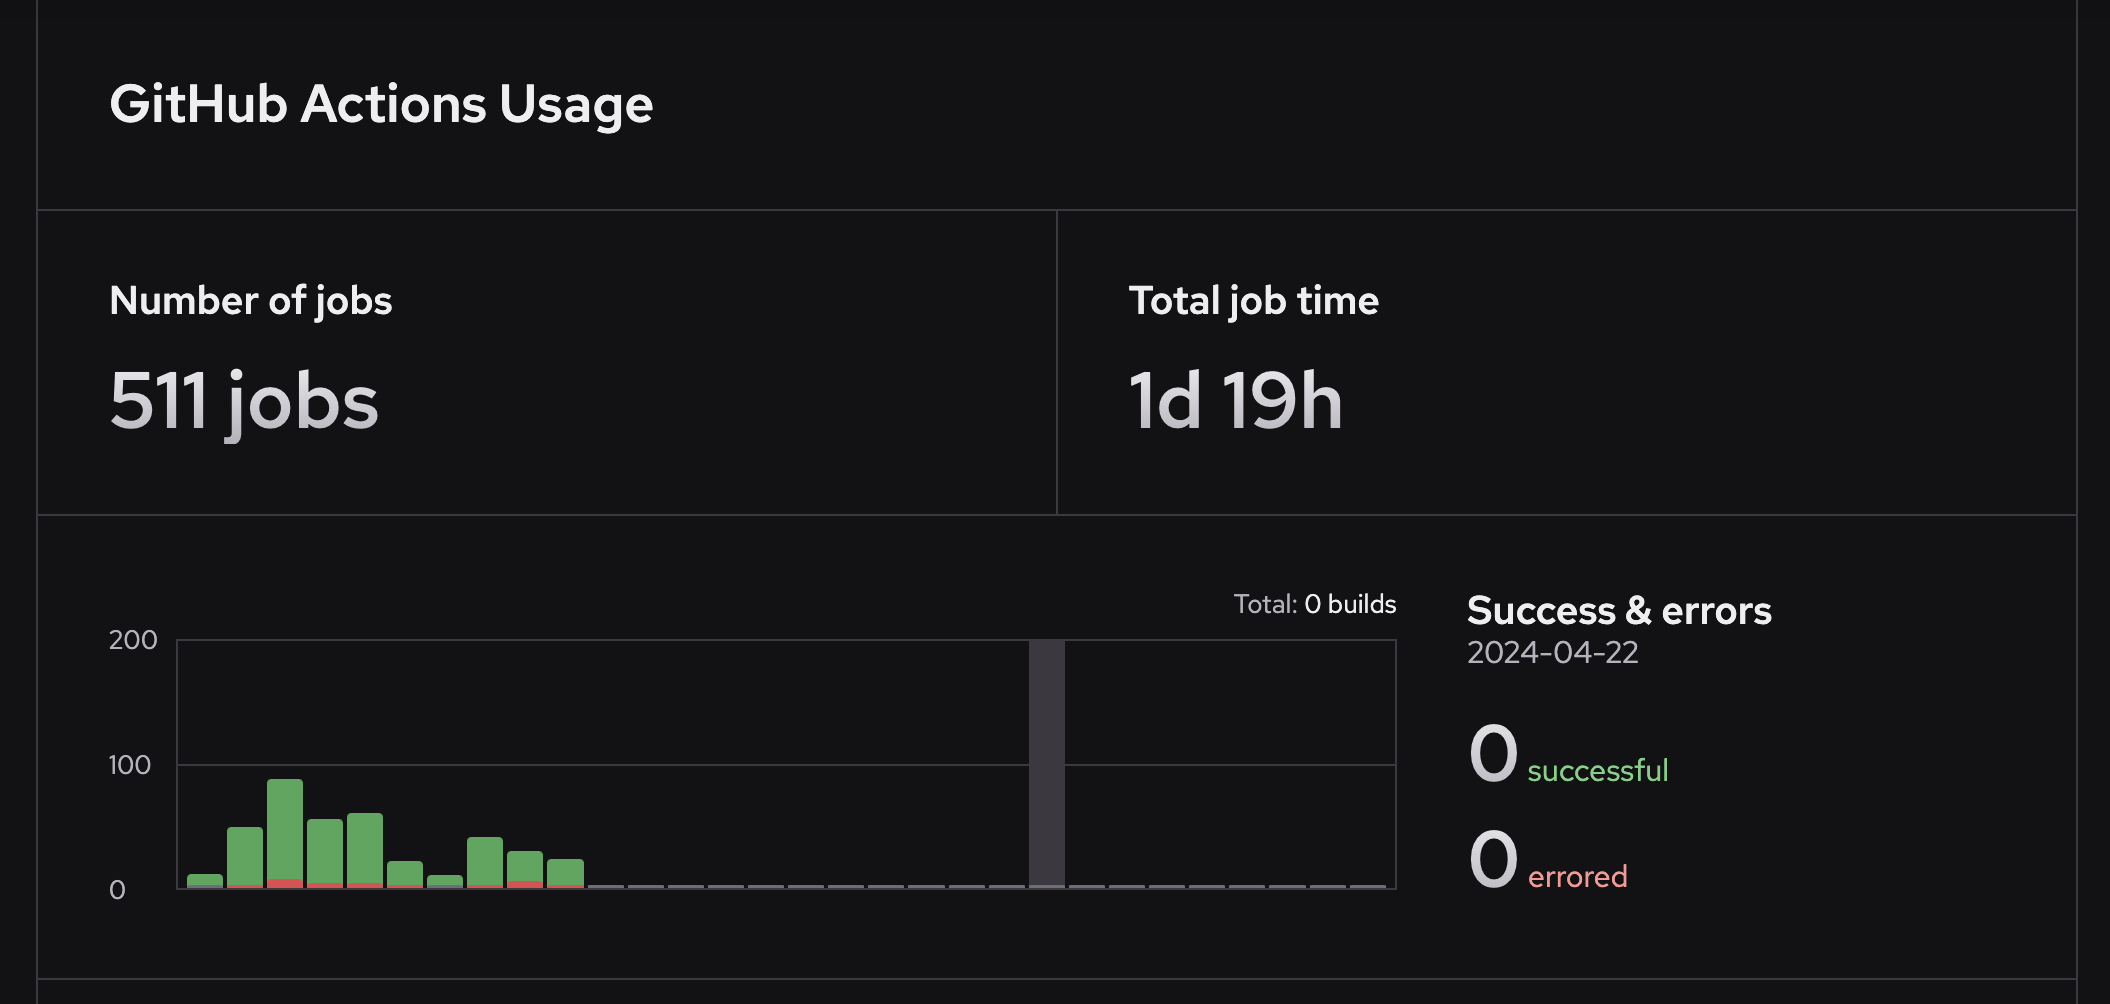
To view GitHub Actions usage for your organization, go to the GitHub Actions section of the Usage page in your Depot dashboard.

Learn more about GitHub Action metrics and analytics.