A fun fact about Depot is that an early version of our builder infrastructure ran on Fly.io machines back when they were still in beta. We moved off of Fly to support multi-platform Docker image builds on native Intel & Arm via AWS Graviton. However, Fly.io is still an incredible platform for running your applications, and the team there is top-notch.
A common question we get is how to use Depot with Fly.io. In this post, we'll walk through how to use Depot to build your Docker images, push them to your registry, and deploy them to Fly.
Prerequisites
Before we get started, you'll need to have a few things set up:
- A Depot account with a project set up and install the Depot CLI on your machine
- A Fly.io account and install
flyctlon your machine
Once you have both accounts and the CLI tools installed, you're ready to start building Docker images via Depot and deploying them to Fly.
Building a Docker image with Depot and deploying to Fly
We are going to use our example node/pnpm-fastify project as the application that we are going to build via Depot and deploy to Fly. This project is a simple Fastify API that uses pnpm as the package manager and demonstrates our Dockerfile best practices for pnpm.
Step 1: Build your first Docker image with Depot
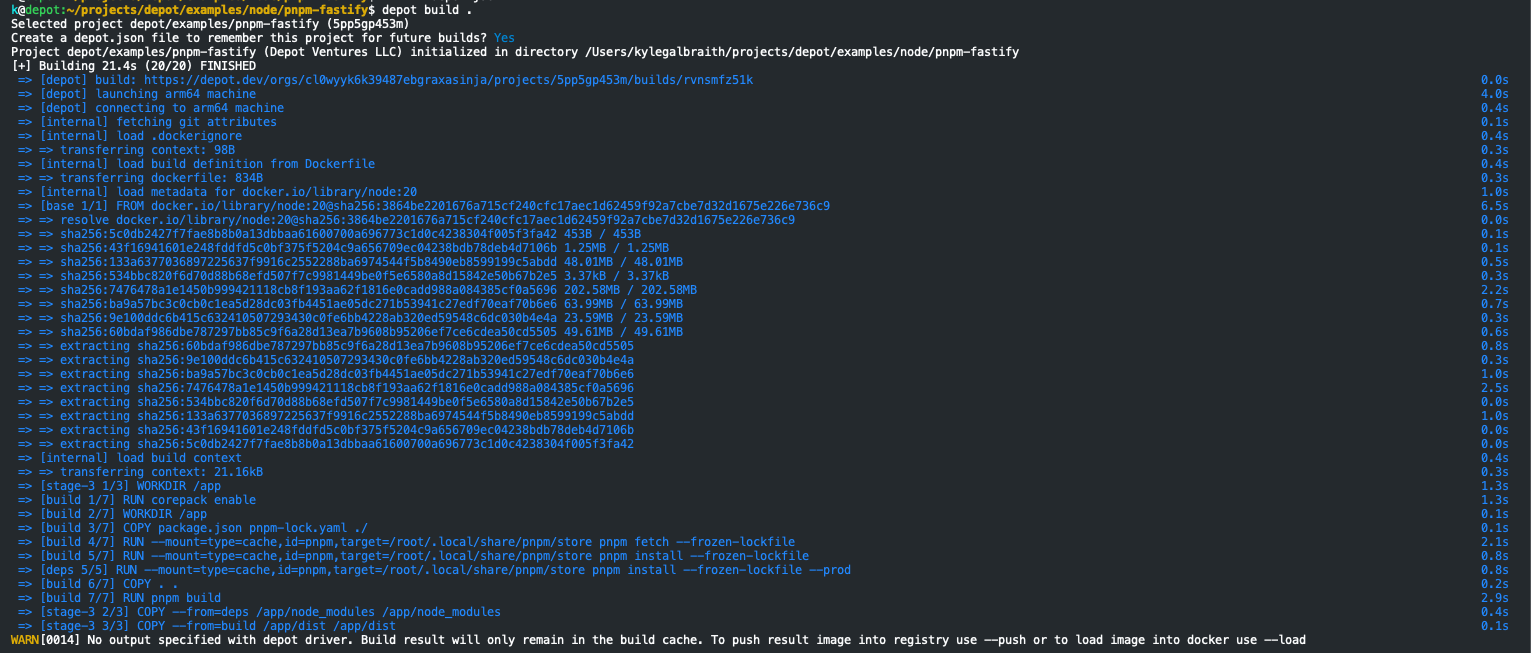
You can start by cloning the example project, git clone git@github.com:depot/examples.git, and navigating to the node/pnpm-fastify directory. From that directory, we are going to run our first Depot command to build the Docker image:
depot build .On your first build, the depot CLI will prompt you to choose the project you've created for this Docker image build. Once you've selected the project, you can tell the CLI to save this selection in a depot.json file. Your first build will then execute.
Once the build is complete, it remains in the build cache for future builds. You can run depot build . again to see the build time decrease significantly due to the persistent layer cache we orchestrate behind the scenes.
Step 2: Create your Fly.io app
If you don't already have a Fly app ready for the example project, you can create one by running the following command:
flyctl launch --name depot-examples-pnpm-fastify --no-deployThis will create a basic Fly app named depot-examples-pnpm-fastify on a small shared machine with 1 CPU and 1 GB of memory in whatever region is closest to you. We specify the --no-deploy flag to prevent Fly from building and deploying the app immediately. The fly.toml file generated for your app will be used to deploy your Docker image to Fly.
Fly apps also get a container registry behind the scenes for your Docker images. The registry lives at registry.fly.io/depot-examples-pnpm-fastify or whatever you named your app.
Step 3: Push your Docker image to Fly.io
With your Docker image built and cached in Depot, you can now push it to Fly.io's registry for your app. Before you can do that, you need to login into your Fly registry via the command below:
flyctl auth docker
Authentication successful. You can now tag and push images to registry.fly.io/{your-app}Once you are authenticated to your Fly registry, you can push your Docker image to Fly.io via Depot by tagging your image with your registry url and pushing it:
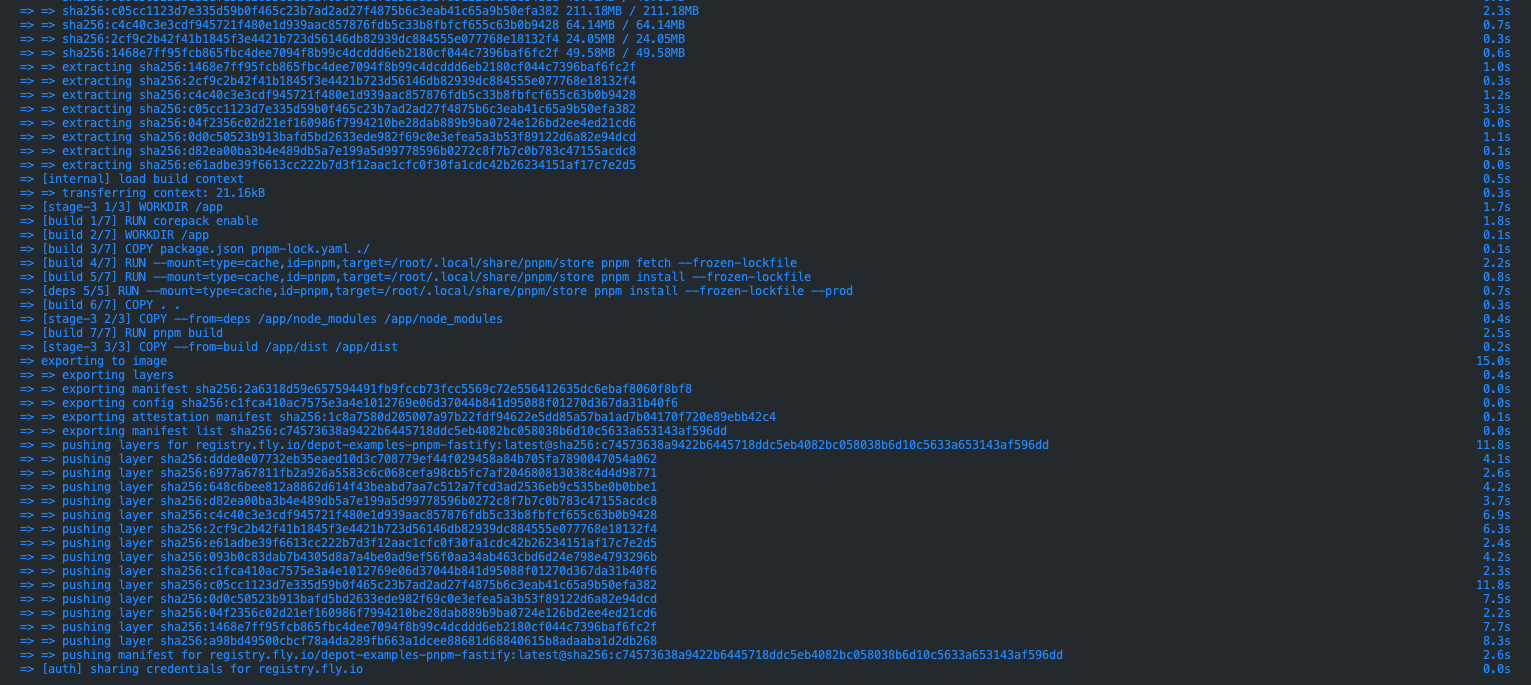
depot build -t registry.fly.io/depot-examples-pnpm-fastify:latest --push .The depot CLI receives the authentication details via the build context in the same way a docker build does. The CLI then builds the Docker image, tags it with the Fly registry URL, and pushes it to the registry.
Step 4: Deploy your Docker image to your Fly.io app
Once your image has been built and pushed to the Fly registry that is backing your app, you can then deploy it with flyctl:
flyctl deploy --app depot-examples-pnpm-fastify --image registry.fly.io/depot-examples-pnpm-fastify:latest
Visit your newly deployed app at https://depot-examples-pnpm-fastify.fly.dev/The deploy command will check that the image specified exists in the Fly registry for the specified app. If the image exists, it will deploy it to your app and start the containers. We can test that the app is running by hitting the /health endpoint of the app url provided by Fly:
curl https://depot-examples-pnpm-fastify.fly.dev/health
{"alive":true}And that's it! You've successfully built a Docker image with Depot, pushed it to your Fly registry, and deployed it to your app. You can now scale your app, add secrets, and more with Fly.
Building and deploying from a GitHub Actions workflow
Taking this to the next level is building your Docker images in GitHub Actions with Depot & deploying to your Fly apps directly from your job. Below is an example workflow that does precisely that with this depot-examples-pnpm-fastify app:
name: Deploy pnpm-fastify to Fly.io

on:
  workflow_dispatch: {}

permissions:
  id-token: write
  contents: read

jobs:
  deploy:
    runs-on: ubuntu-22.04

    env:
      FLY_ACCESS_TOKEN: ${{ secrets.FLY_ACCESS_TOKEN }}

    steps:
      - name: Checkout code
        uses: actions/checkout@v4

      - name: Install flyctl
        uses: superfly/flyctl-actions/setup-flyctl@master

      - name: Login to Fly registry
        run: flyctl auth docker

      - name: Set up Depot CLI
        uses: depot/setup-action@v1

      - name: Build and push image
        uses: depot/build-push-action@v1
        with:
          context: ./node/pnpm-fastify
          platforms: linux/amd64
          push: true
          tags: registry.fly.io/depot-examples-pnpm-fastify:latest

      - name: Deploy to Fly.io
        run: |
          flyctl deploy --config ./node/pnpm-fastify/fly.toml \
--image registry.fly.io/depot-examples-pnpm-fastify:latestWith this workflow, you can use Depot to build and push your Docker image to a Fly registry via the depot/build-push-action and then deploy it to your Fly app with flyctl deploy.
To authenticate the build with Depot, we use an OIDC trust relationship on our Depot project via the permissions block. When the GitHub Actions job requests an access token from Depot, we check the details of the request based on the trust relationship and then generate a temporary access token for the job. This token is only valid for the duration of the job that requested it.
We then set the environment variable FLY_ACCESS_TOKEN to a deploy token that you can generate in Fly and store in GitHub Secrets. This token is used to authenticate the flyctl CLI to the Fly API to deploy the Docker image to your app.
Next, we run our flyctl auth docker so that we can log in to our Fly registry before we call depot build-push-action. This is because the depot CLI uses the Docker build context to authenticate with the Fly registry, and we need to be authenticated before we build and push the image.
Finally, we call our flyctl deploy command with the path to our fly.toml file and the image we want to deploy. This will deploy the Docker image to your Fly app and start the containers.
Conclusion
Using Depot with Fly.io is a powerful combo for building and deploying your applications packaged as Docker images. Depot can make Docker image builds up to 40x faster, and it's seamless to push the resulting image to the Fly registry for your application. Fly provides an easy-to-use platform that takes your container image and transforms it to run on their fast, globally distributed micro-VMs in over 30 regions.
If you're looking to deploy your own containers to Fly or any other platform with Depot, sign up for our 7-day free trial and get building in less than 5 minutes!


