This article walks you through how to use Depot's API within your own code to set up projects and run your Docker builds as a service on Depot's infrastructure.
Building a Docker image requires a high level of permissions in the environment where that build is happening. You have to sandbox the build so that any escape from the Docker image build doesn't impact other resources running nearby.
If you need to build Docker images for untrusted code or code that you don't own, the risk is much higher. Building Docker containers on behalf of your users is a complex problem that has a large security surface area. It's also typically not the core value proposition of your product or service. Optimizing builds for performance, handling Docker layer caching, securing the underlying infrastructure, and maintaining BuildKit are all problems that arise when you start building Docker images on behalf of your users.
We take all those problems off your plate with Depot.
We've built Depot to be the fastest remote container build service, optimized to build any Docker image up to 40x faster. It's a drop-in replacement for docker build, with our own depot build CLI. You can leverage Depot locally and inside of your existing CI environment.
In this article, however, we highlight the Depot Build API that solves this exact use case. Build any Docker image on behalf of your users with our API and never have to think about managing your own build infrastructure again.
Keep reading to learn more about how Depot Build API works and how you can integrate it, including detailed code examples and a reference repo.
Depot Build API solves the hassle of managing Docker builds yourself
The use case for Depot Build API is any service that takes in a Dockerfile from its users, builds the container, and then does something with the Dockerized app. Here are some examples of use cases that we often see:
- running Kubernetes as a service for customers
- building customer containers and deploying them to their own infrastructure
- building customer containers and deploying them to cloud infrastructure like AWS ECS, Google Cloud Run, Fly.io, etc.
Historically, there hasn't been a good option for handling the middle portion of this process: building the image. You've had to resort to hacks like committing a Dockerfile (that hasn't changed) to Git just to trigger a CI workflow that builds your image, and then pulling the image afterward. This treats CI builders like GitHub Actions as APIs, which they weren't designed as.
Or you've had to stand up a full build infrastructure setup that runs BuildKit, or its equivalent, inside your own product or service. This incurs a massive maintenance footprint and cost for a feature that isn't in your core value proposition.
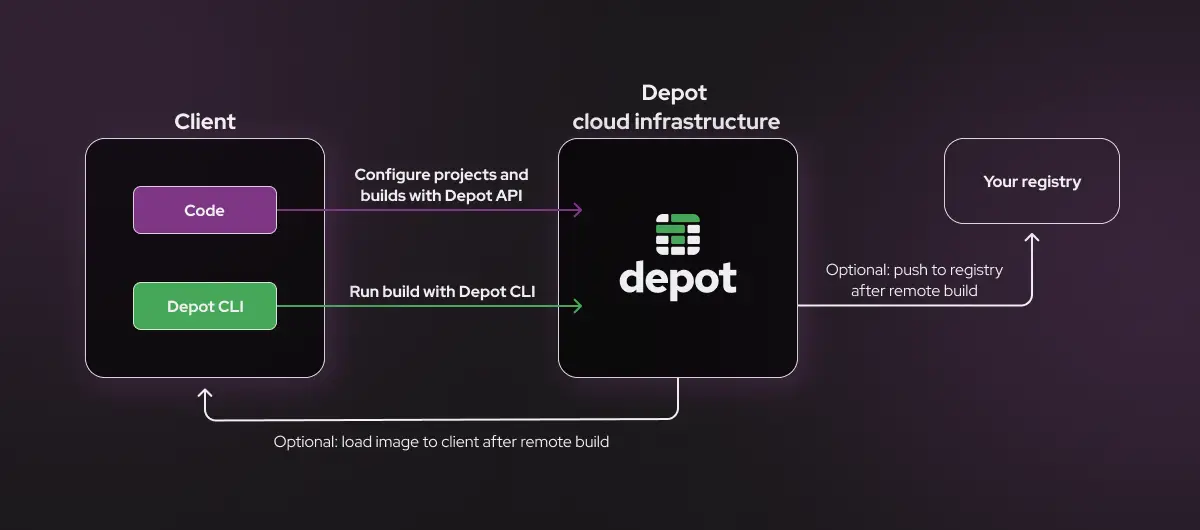
Wouldn't it be cool if there were an API that could just build a Docker container? That's why we created the Depot Build API. With it, you can send your Dockerfile and build context to our remote build service and leverage our builder infrastructure to run your build.
Depot Build API handles the entire build for you from optimizing the transfer of the build, building the image as fast as possible, persisting and managing cache, to ultimately returning the built image to you or pushing it to your registry.
Try out Depot's API to run a simple Docker build as a service
Here's an example showing how to use Depot Build API to build Docker images from your own code. We've made some simplifying assumptions so that this tutorial can focus only on interacting with the APIs. First, you'll just be running the Docker container on your local machine, without a deployment pipeline. And second, you'll run a simple “Hello World” application.
You'll be interacting with these APIs through our Node.js SDK. You can check out our documentation for the Node.js SDK to see the specific usage examples for each API call. We've also provided an example repo to go along with this tutorial. You can clone the repo locally or fork it if you want to build off the API calls in this example.
Our example repo contains the following files:
- A Dockerfile representing a basic Docker build that needs to be performed for a simple Node.js application.
- The example Node.js application lives in the
app/directory. - The
src/directory contains examples of how to call different Depot API endpoints. list-projects.jscreate-project.jsdelete-project.jscreate-build.js
Steps to run the tutorial
Step 1: Set up your organization within Depot
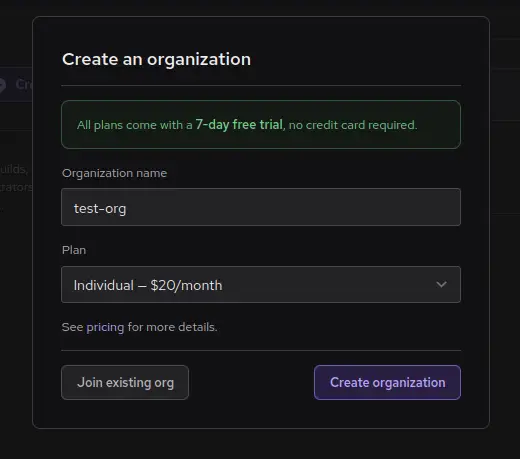
To get started with Depot, sign up for a 7-day free trial. Afterward, you can create an organization and name it whatever you prefer.
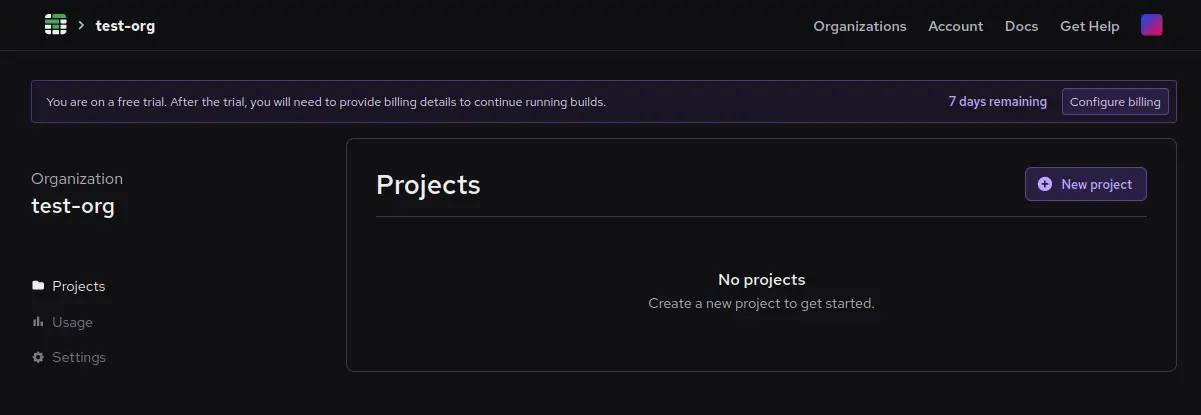
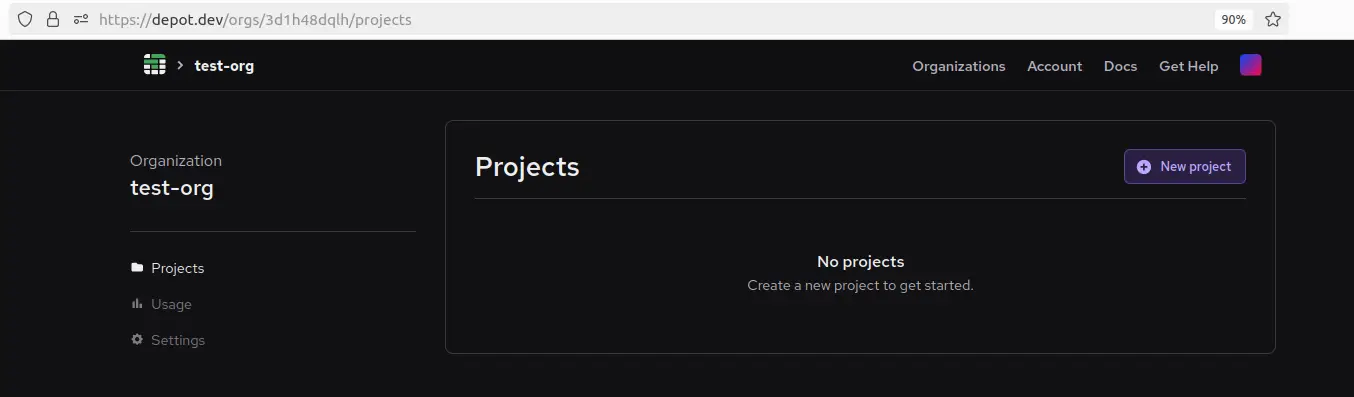
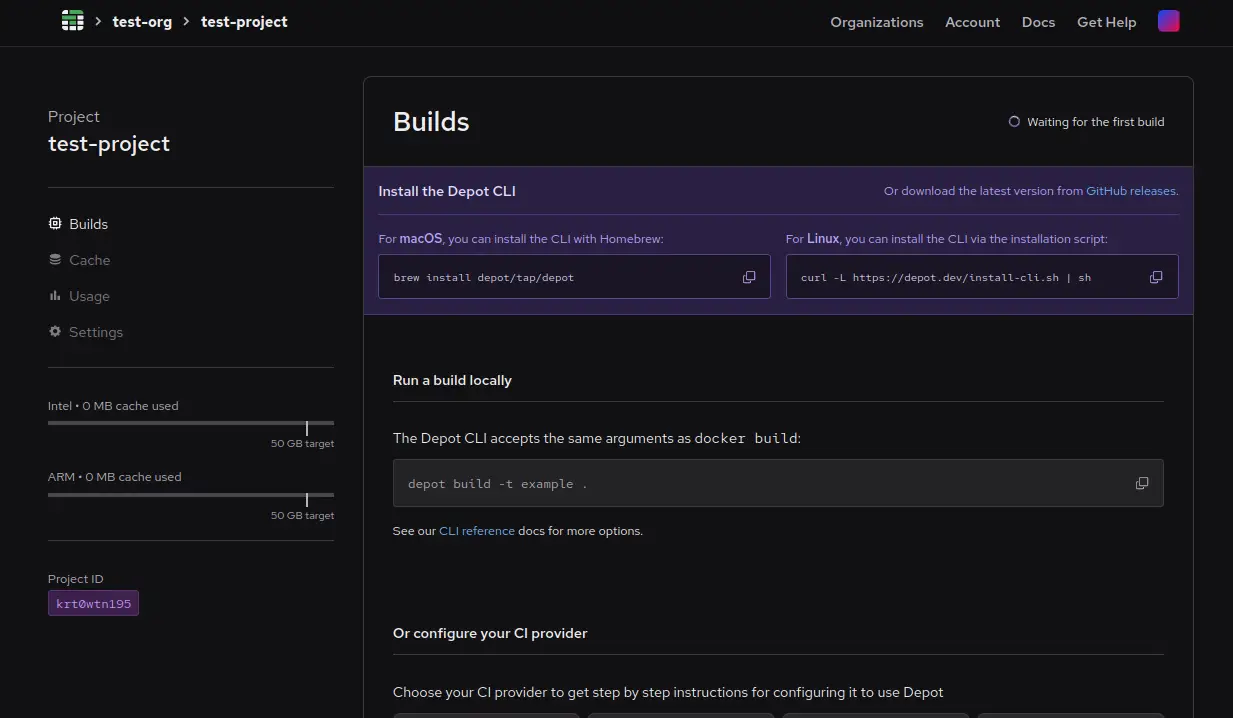
After creating your organization, you may be prompted to create a new project. Ignore this and click away from this menu for now, as we'll do that later through the API. After doing this, you should see something like the following in your Depot dashboard.
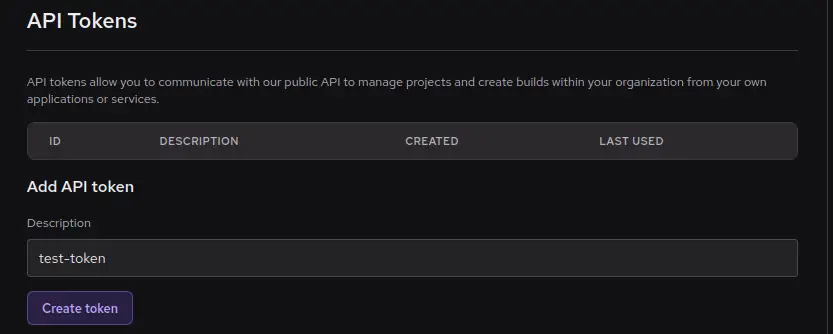
Next, create an API token to use with subsequent API calls. Click Settings in the menu, then scroll down to the API Tokens section. Type test-token (or any other name you prefer) into the Description field and click Create token.
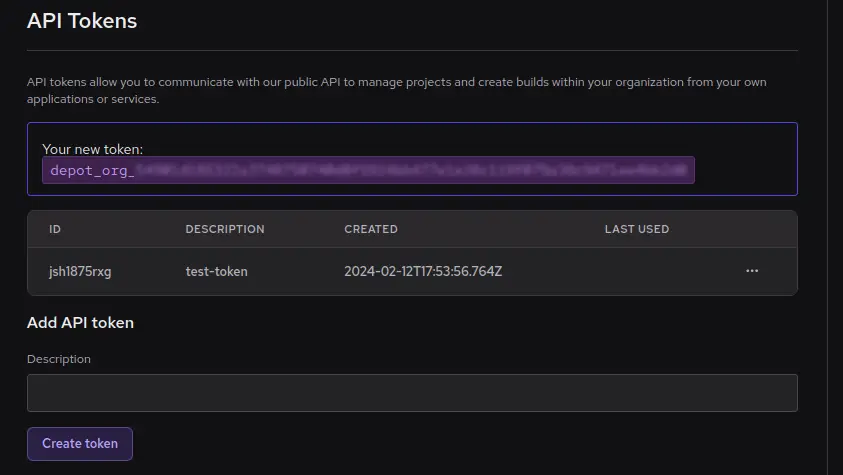
Afterward, you'll see a new token created. Be sure to copy this token to your clipboard and save it somewhere before leaving the page, as you won't be able to see it again.
Now, set this token as the DEPOT_TOKEN environment variable in your shell with the command below, as the Node.js scripts below will look here to authorize any API requests.
export DEPOT_TOKEN=<your org token>Step 2: Download the Depot CLI
You will also need to install the Depot CLI to run the build. To install the CLI, run the following command and follow the prompts afterward:
curl -L https://depot.dev/install-cli.sh | shIf you're on a Mac, you also have the option to install with Homebrew:
brew install depot/tap/depotStep 3: Use the CoreService to create and configure your Depot project
At this point, you've created your new Depot account, created a test organization, and exported a test organization token that you can use to query the API. Now, you're ready to begin interacting with the API.
If you haven't done so already, clone or fork the repository for this tutorial. Inside the src directory are various examples of calling the Depot Build API. Starting with list-projects.js, you can call ProjectService.listProjects() to list projects in your organization:
const {depot} = require('@depot/sdk-node')

const headers = {
  Authorization: `Bearer ${process.env.DEPOT_TOKEN}`,
}

async function listProjects() {
  const result = await depot.core.v1.ProjectService.listProjects({}, {headers})
  console.log(result.projects)
}

listProjects()You can see that this script uses the DEPOT_TOKEN that you exported earlier for authentication, calls ProjectService.listProjects(), and then logs in your Depot organization. You can run this with node:
node ./src/list-projects.jsAt this point, you haven't created any projects, so you should get back an empty list. This is also apparent by looking at your Depot account dashboard.
Now, you can use the ProjectService.createProject() API call in create-project.js to create a project.
const {depot} = require('@depot/sdk-node')

const headers = {
  Authorization: `Bearer ${process.env.DEPOT_TOKEN}`,
}

async function createProject(project_name, organization_id) {
  const result = await depot.core.v1.ProjectService.createProject(
    {
      name: project_name,
      regionId: 'us-east-1',
      cachePolicy: {keepBytes: 50 * 1024 * 1024 * 1024, keepDays: 14}, // 50GB and 14 days
    },
    {headers},
  )
  console.log(result.project)
}

const args = process.argv.slice(2)
const project_name = args[0]

createProject(project_name)This takes the project name as a command line argument and then configures a new Depot project using the default parameters shown. You can choose what to call your Depot project with the project-name argument. Once you have decided on your project name, create a project with the following command:
node ./src/create-project.js <project-name>You will get back some information about the newly created project, like the following. Pay special attention to the projectId, as you will use that later to create a build inside your project.
_Project {
  projectId: 'krt0wtn195',
  organizationId: '3d1h48dqlh',
  name: 'test-project',
  regionId: 'us-east-1',
  createdAt: Timestamp { seconds: 1708021346n, nanos: 83000000 },
  cachePolicy: _CachePolicy { keepBytes: 53687091200n, keepDays: 14 }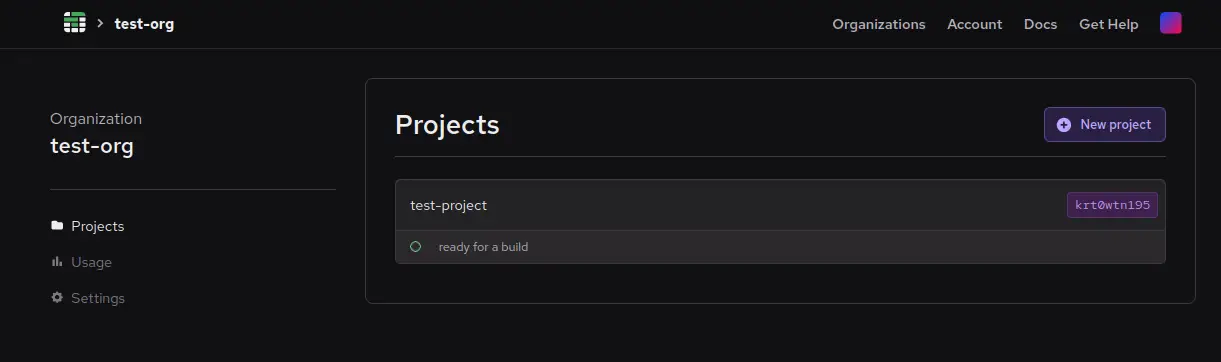
}You can now see this project with the ProjectService.listProjects() API call from before to see your newly created project. You can also see this project populated in your Depot dashboard, with new options and settings inside of it.
There is also a delete-projects.js script in the tutorial repository that allows you to supply a project ID and delete a project through the API. However, we won't use it in this tutorial.
const {depot} = require('@depot/sdk-node')

const headers = {
  Authorization: `Bearer ${process.env.DEPOT_TOKEN}`,
}

async function deleteProject(project_id) {
  await depot.core.v1.ProjectService.deleteProject(
    {
      projectId: project_id,
    },
    {headers},
  )
}

const args = process.argv.slice(2)
const project_id = args[0]

deleteProject(project_id)Note on cache isolation when creating projects
In Depot, a project is a set of builders plus an NVMe cache disk for each architecture you build for.
We strongly recommend having a dedicated project for each entity on your side that's equivalent to a customer organization. This way, each of your customers will have dedicated cache storage and builder machines, which together maximize cache effectiveness and guarantee that there won't be any cache poisoning.
Step 4: Use the BuildService to build your Docker image
After you've configured your Depot organization and project, it's now time to run a Docker image build on Depot via the Build API.
For this build, you'll supply the Dockerfile below, which installs a base image of Node and then copies the “Hello World” Node.js file into the Docker image.
FROM node:18-alpine
WORKDIR /app
COPY app/ .
CMD ["node", "hello-world.js"]The simplest way to offload your build from Node is to create a build via the Depot Build API and pass that build token to our depot build CLI. The BuildService API allows you to provision a build in a given project via the createBuild endpoint. You can then take the build ID and build token from that response to the Depot CLI to orchestrate your build in our infrastructure.
Creating the build is shown below in the create-build.js file.
const {depot} = require('@depot/sdk-node')
const {exec} = require('child_process')

const headers = {
  Authorization: `Bearer ${process.env.DEPOT_TOKEN}`,
}

async function runBuild(projectID) {
  const result = await depot.build.v1.BuildService.createBuild(
    {
      projectId: projectID,
    },
    {headers},
  )

  /*
    Execute Depot CLI binary to run build using the build ID and build token that were generated by the createBuild API call.
  */
  exec(
    'depot build --load .',
    {
      env: {
        DEPOT_PROJECT_ID: projectID,
        DEPOT_BUILD_ID: result.buildId,
        DEPOT_TOKEN: result.buildToken,
      },
    },
    (error, stdout, stderr) => {
      if (error) {
        console.error(`Error executing the binary: ${error}`)
        return
      }

      console.log(`stdout:${stdout}`)
      console.error(`stderr:${stderr}`)
    },
  )
}

const args = process.argv.slice(2)
const projectID = args[0]

runBuild(projectID)To run this, you just need to feed in the project ID from before as a command-line argument.
node ./src/create-build.js <project-id>Afterward, you should see the output of the Depot CLI running the build. You should also see the build running in your Depot dashboard in the Projects section.
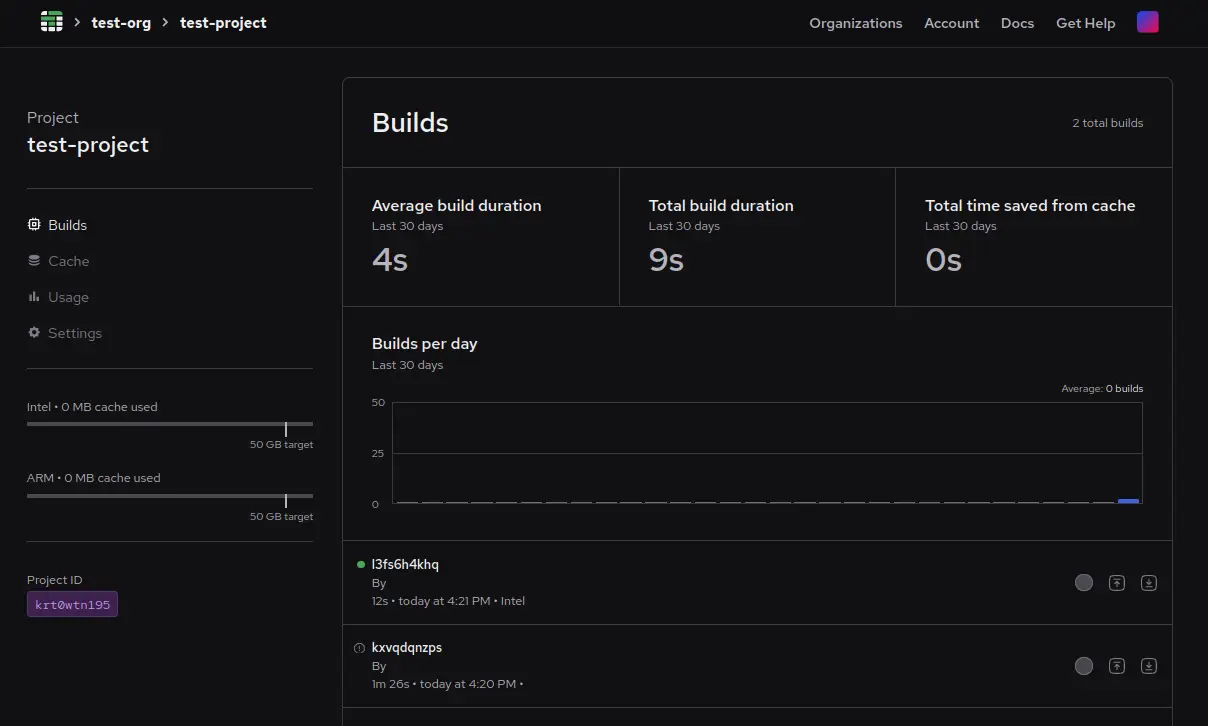
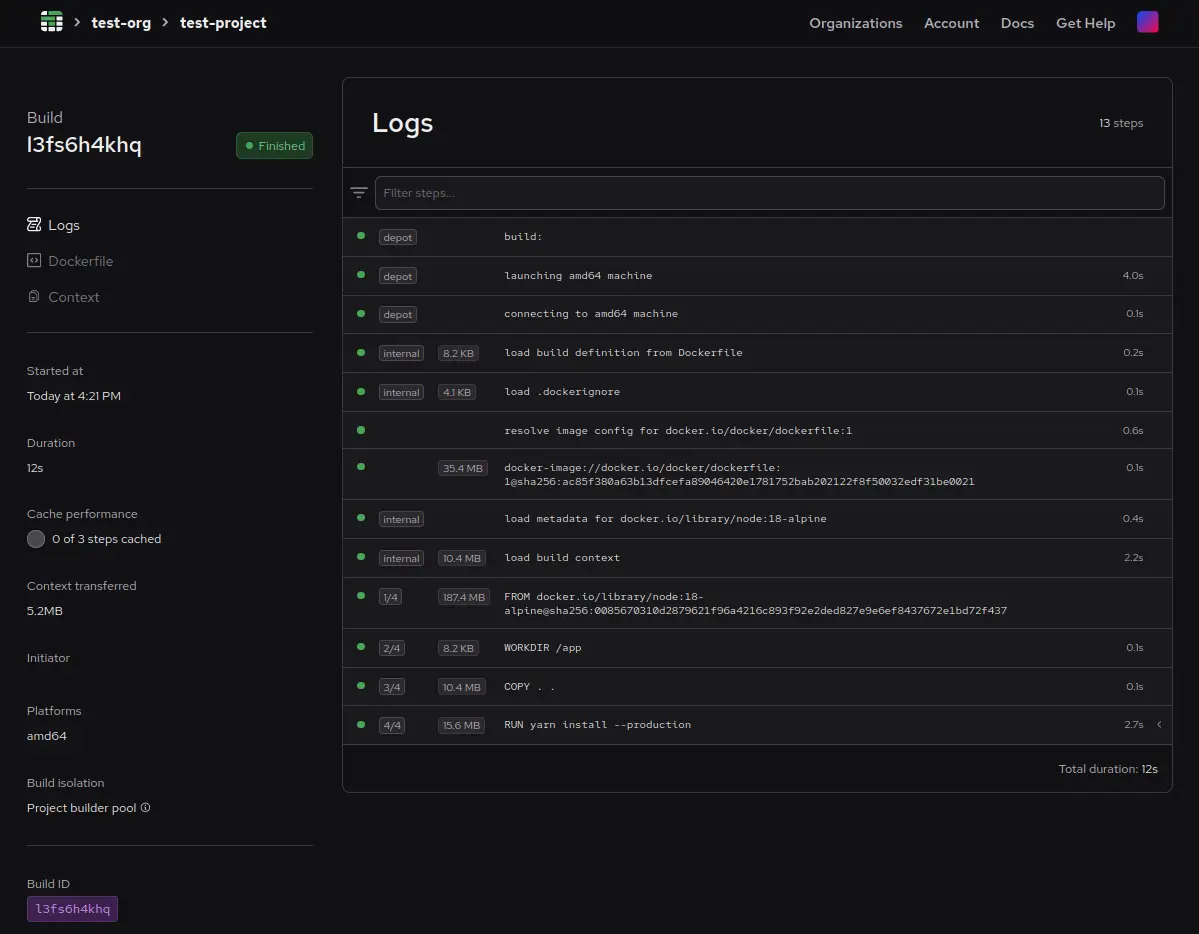
The logs for this build, including what happened at each step in the build, can be viewed in the build details view.
Step 5: Run your Docker container
Because of the --load flag in the depot build command, the Docker image will be pulled back and loaded into your local Docker daemon. You should be able to view this with the following Docker command:
docker image lsHere is an example output after running this command:
REPOSITORY   TAG   	IMAGE ID       CREATED          SIZE
<none> <none> 23d2e8d0d798 16 seconds ago 132MBYou can then run this simple “Hello World” Docker image that was built on Depot's infrastructure with the following command, using the image ID from the previous command:
docker run <image-id>Advanced: using BuildKitService
If you were following along, you just used the Depot API's ProjectService to create a new project, the BuildService to provision a build, and the Depot CLI to orchestrate the build on your behalf.
This is the workflow we recommend to almost everybody as it is far less complex than interacting with BuildKit directly and pushes all the orchestration down to the Depot CLI. However, for those currently interacting directly with BuildKit, we also provide a BuildKitService to leverage Depot's infrastructure for your existing BuildKit builds.
The BuildKitService complements the BuildService. You'll still use CreateBuild(), but instead of using the Depot CLI to execute the build (which hides all of BuildKit's complexity), you'll be using the BuildKit client to execute the build (which exposes all of BuildKit's functionality). This is the same client docker buildx build uses behind the scenes.
The BuildKitService provides getEndpoint(), reportHealth(), and releaseEndpoint() as API calls. getEndpoint() provides the endpoint for the Depot infrastructure created after running createBuild() from the BuildService. The endpoint is fed into the BuildKit client so that the build happens on Depot's infrastructure.
We also require you to call reportHealth() every five minutes to let us know you're still using Depot infrastructure for the build. Otherwise, we assume you're done and clean up the resources. After your BuildKit build is finished, you can call releaseEndpoint(), which releases Depot's infrastructure.
We have an example Go application walking through how to interact with a BuildKit endpoint directly.
In order to understand more about the inner workings of BuildKit, you can check out our BuildKit in depth article.
Outsource your Docker builds efficiently, securely, and reliably
At this point, you've seen how to interact with Depot's API to run your Docker builds without all of the headaches of managing your own infrastructure or interacting directly with BuildKit. Instead, you can rely on Depot's remote builders, which support x86 and ARM architectures and come with 16 vCPUs, 32 GB memory, and a 50+ GB NVMe cache disk.
As you build on this example for your own real-world use cases, you can also access Depot's infrastructure directly from the Depot CLI, which serves as a drop-in replacement for docker build, docker buildx build, and docker buildx bake commands.
Learn more about how Depot's infrastructure works behind the scenes or reach out to us with any questions about how you could set up your own reliable, scalable, and secure Docker building workflows without having to manage the infrastructure.
Related posts
- BuildKit in depth: Docker's build engine explained
- Buildx bake deep dive: Bake all your images with one command
